Welcome to the America On
Stage Online
Registration Changes Tutorial
Making Changes is easy!
Step 1 - Go to the
Registration Changes Page.
Step 2 - Enter your password.
Step 3 - Change Division information or delete unwanted
registrations.
Step 4 - Click Submit.
Here's the Detailed
Instructions
|
Step 1 - Go to the
Registration Changes Page
-
From the Home page (www.americaonstage.org)
click on Online Registration.
-
Click on the "Registration
Changes"
Button at the bottom on the list in
"Step 2" -

-
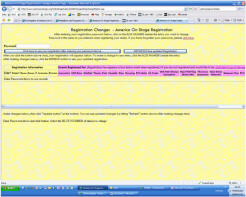
This will bring up the
Registration Changes page similar to what is seen at right
|
 |
Step 2 - Enter your password to see
all your registration
-
Enter your password.

All your registration you have entered will come up.
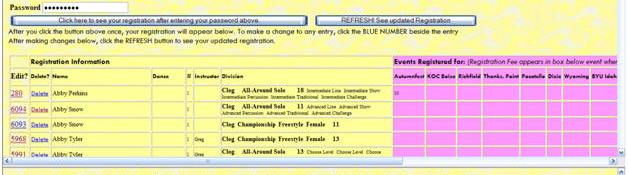
-
It is listed alphabetically and all
the entries show name, division, and events registered for.
-
Changing information will change it
for ALL events registered with this entry.
Be careful. If you change anything, ALL events will be registered
with that change.
Step 3 - Change Division information
or delete unwanted registrations.
Registration Changes
-
Click on the entry BLUE NUMBER you
want to Change. the registration come up with the chosen information at
the bottom.jpg)
-
Change the division information to
what is correct
-
Click Update to update changes

-
Click Refresh at the top of page to
see all changes
.jpg)
Registration Deletions
-
Click on the blue word delete next to the
entry you want to delete and click submit.
-
A confirmation will ask you if you
are sure you want to delete
-
Click Delete to delete the entry.
This will delete the entry from ALL events.
Step 4 - Click Update!!!
Don't forget to Click on Update so your changes are complete.
Now to see how Online
Registration makes is
SO EASY to RE-REGISTER your dancers, click here!
Don't enter all their information again, just Re-register!